Get started
Install and sign in
Install the kuiper CLI on macOS or Linux, sign in from a terminal, a server or CI, and add a passkey to the dashboard.
On this page
Install the CLI#
The kuiper command deploys units, manages variables and reads logs. It runs on macOS and Linux, on x86-64 and arm64. Install it with one command:
curl -fsSL https://app.kuiper.sh/install.sh | shThe same script is also served from the main site:
curl -fsSL https://kuiper.sh/install | shThe installer puts kuiper on your machine and points it at the Kuiper instance it was downloaded from. If you install from your own instance, the CLI is set up for that instance and needs no extra flags.
Check that it works:
kuiper --version
kuiper --help
Want to read the script before you run it? Download it first.
curl -fsSL https://app.kuiper.sh/install.sh -o install.sh
less install.sh
sh install.shSign in from a terminal#
kuiper loginSigning in takes four steps:
- The CLI opens the dashboard in your browser.
- A short code, like
WDJB-MJHT, appears in the browser and in the terminal. Check that the two match. - Approve the code in the browser.
- The CLI receives its own API token and stores it. The token is named after your machine, so you can find it later on the API tokens page.
You never type a password or paste a token. Run kuiper whoami to see which organisation and instance the CLI is signed in to.
kuiper whoamiOn a machine without a browser#
A server, a container or an SSH session has no browser to open. Add --no-browser and the CLI prints a link instead.
kuiper login --no-browserOpen the link on any device where you are signed in to the dashboard, check the code and approve it. Once you approve, the CLI finishes signing in.
In CI and scripts#
Automation should not wait for a person. Give it a token instead. Create one on the API tokens page or with kuiper tokens create ci, then pass it to login:
kuiper login --token kpr_…You can also send the token on standard input, which keeps it out of your shell history and process list:
printf %s "$KUIPER_TOKEN" | kuiper loginOr skip login altogether. The CLI reads KUIPER_TOKEN and KUIPER_API_URL from the environment, and they win over anything stored on disk.
export KUIPER_API_URL=https://app.kuiper.sh
export KUIPER_TOKEN=kpr_…
kuiper units -p my-agentSelf-hosted instances#
Install from your own control plane and the CLI points at it straight away; kuiper login then needs no flags.
curl -fsSL https://kuiper.example.com/install.sh | shTo switch an existing install to another instance, set its address, or pass it once to login:
kuiper config set api-url https://kuiper.example.com
kuiper login --api-url https://kuiper.example.com
Where the CLI keeps its sign-in#
The CLI stores the instance URL, the token and your default project in ~/.config/kuiper/config.json, or in $XDG_CONFIG_HOME/kuiper/config.json if you set that variable. The file is readable only by you. Three environment variables override it:
| Variable | Overrides |
|---|---|
KUIPER_API_URL | The instance the CLI talks to. |
KUIPER_TOKEN | The API token. |
KUIPER_PROJECT | The default project, the same as -p. |
Sign in to the dashboard#
Open app.kuiper.sh. The sign-in page offers GitHub and an API token.
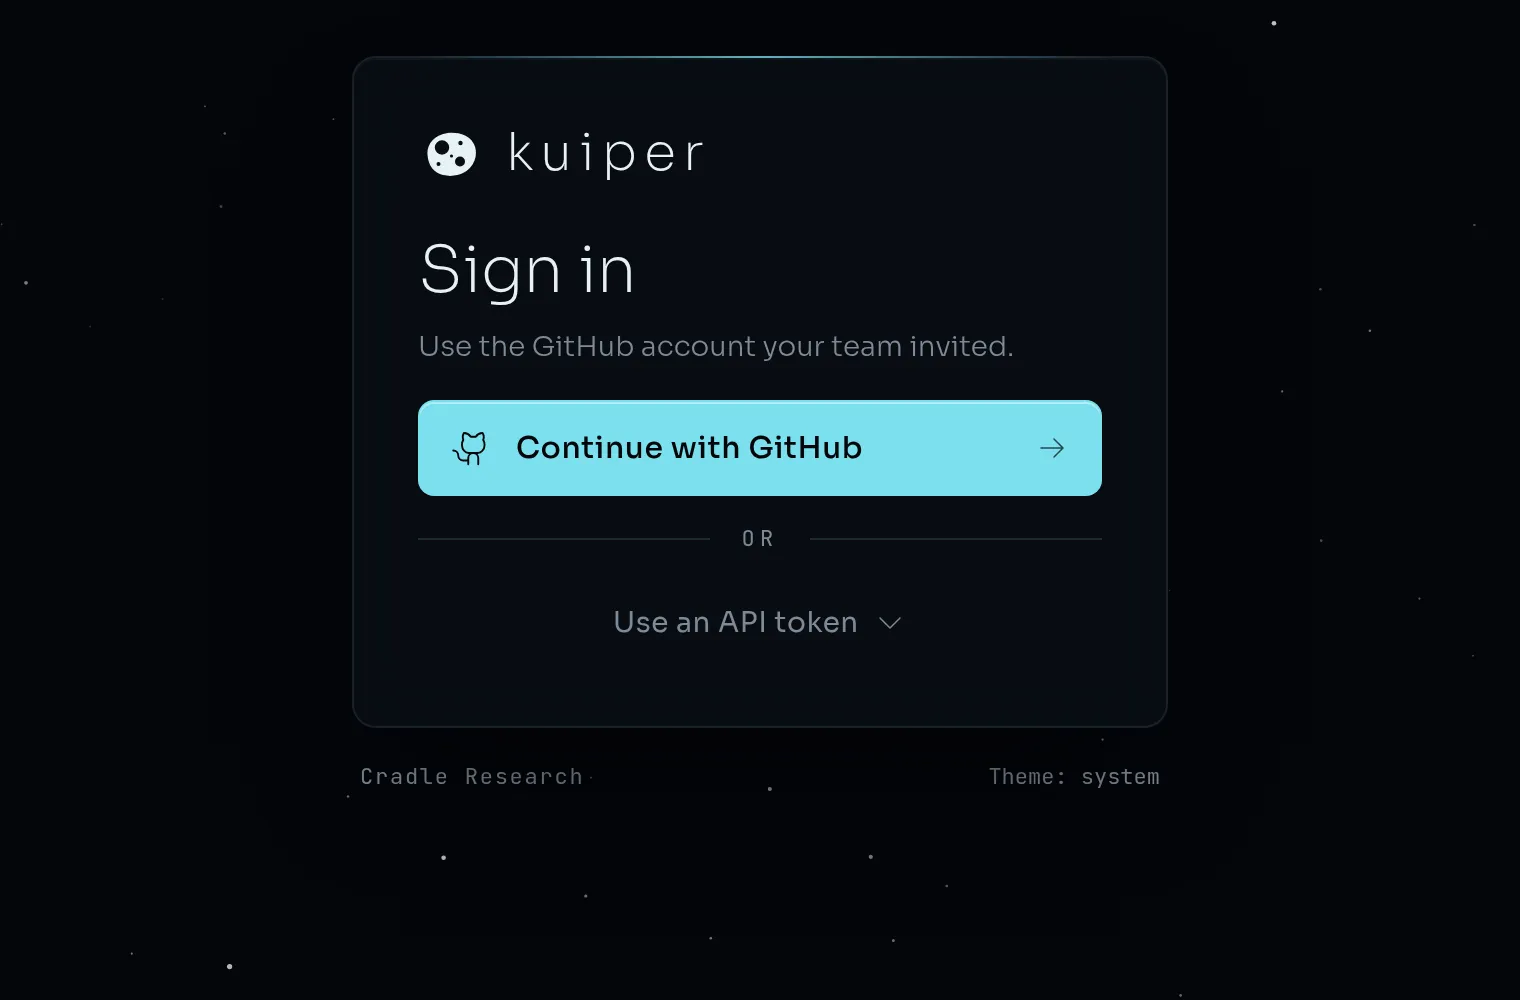
- Continue with GitHub signs you in with the GitHub account your team invited. Someone who signs in without an invitation gets a personal organisation named after their GitHub login. See Teams, roles and tokens.
- Use an API token takes an organisation token,
kpr_…. It is kept in your browser and sent only to Kuiper. A token session acts for the whole organisation, so the Team page shows no name for you.
Add a passkey#
A passkey lets you sign in with your device instead of going through GitHub every time. It uses Touch ID, Windows Hello, a phone or a security key, whichever your device offers.
- Sign in with GitHub.
- Open the Account page. It is linked from the footer of the sidebar, and its address is
#/account. - Add a passkey and follow your browser's prompt.
Next time, choose Sign in with a passkey on the sign-in page. GitHub keeps working as a fallback.
Next#
Your CLI is ready. Deploy your first agent, or take the dashboard tour.